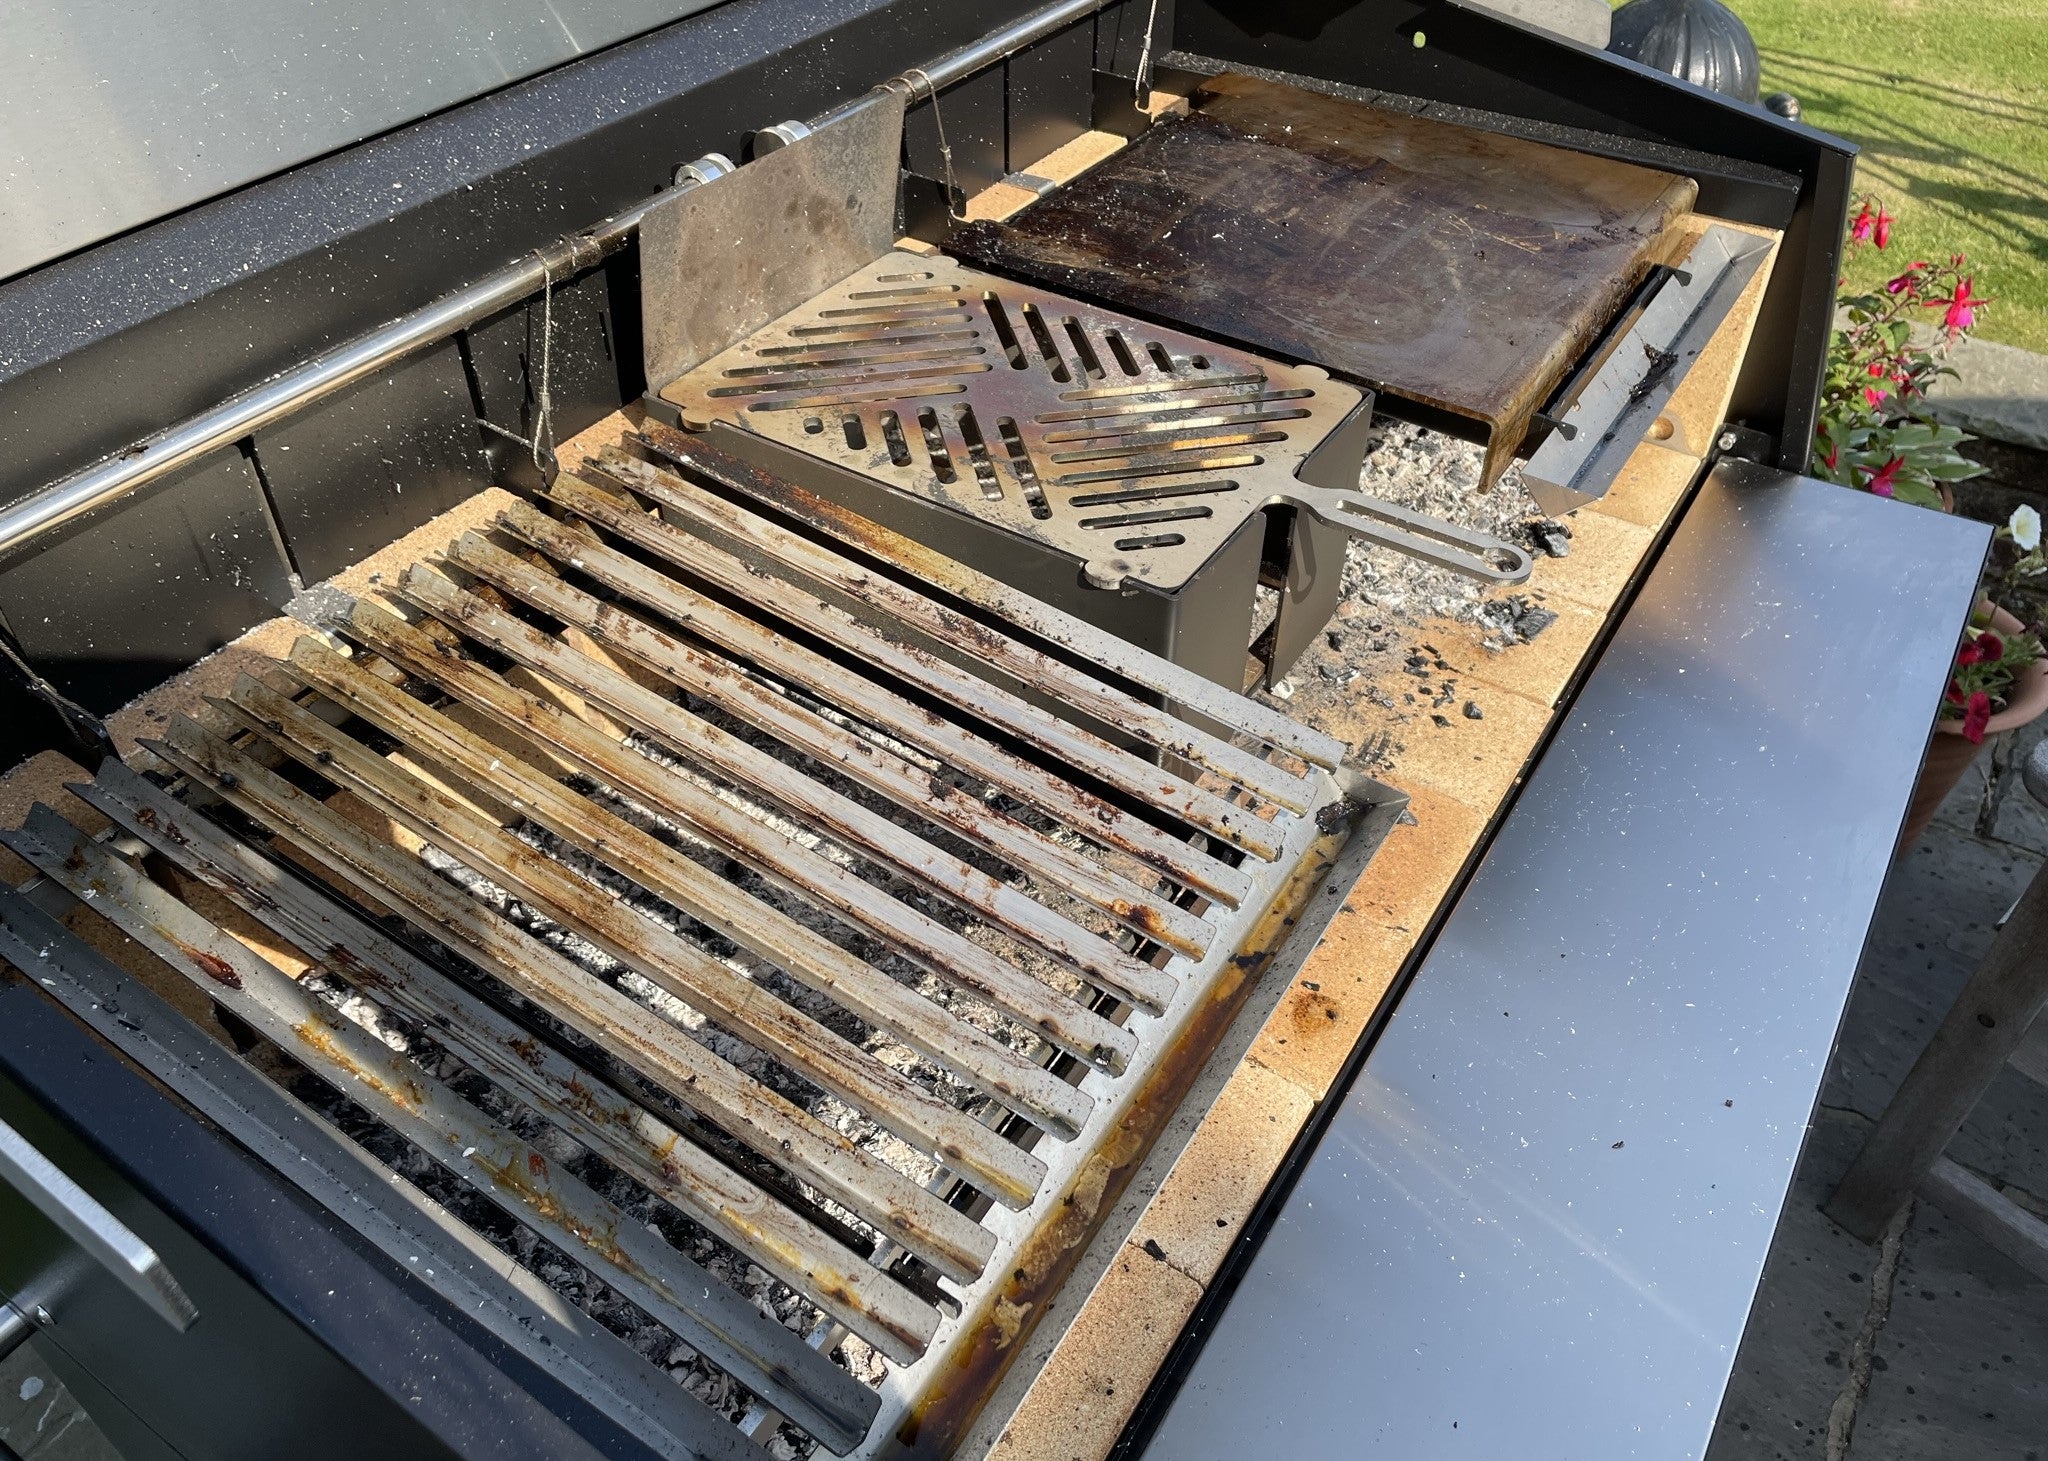
If you religiously complete a maintenance clean after each use, it's likely you'll only have to do a deep clean once or twice a year. If you store your grill away during the colder months, we recommend a thorough clean before storage and another quick clean when you bring it out for summer grilling.
For die-hard barbecue enthusiasts who grill year-round, aim to deep clean your grill every few months. Alternatively, take it as it comes—you might want to give it a deep clean before hosting a big cookout for all your mates. Here’s our step-by-step guide to deep cleaning your Argentine grill, ensuring it remains in top condition.
1. Standard Clean
Start with a standard maintenance clean. Ensure the grill is completely cool before starting. Use a wire brush to thoroughly scrub the grates, removing any built-up residue and food particles. For stubborn spots, use a grill scraper to get into the grooves and edges. As usual, use a dustpan and brush to remove fully cooled embers from the bottom of your grill.
2. Remove Components
After the basic clean, remove the grill grates, drip tray, firebox, and any other removable parts. Fill a bucket with warm water and a few drops of dish soap. Soak the V-shaped grills and drip tray for 15-20 minutes. After soaking, scrub them thoroughly with a sponge or cloth to remove any remaining grime. Rinse with clean water and let them air dry.
3. Deep Clean Grills
For a deeper clean to tackle more burnt-on grease, we recommend using Oven Pride Cleaning Deep Cleaner. This product provides the best results, leaving your grills sparkling (please read the instructions provided with the product before use. Wear protective skin and eyewear).
- Place the V-shaped grills in the bag provided with the Oven Pride Solution.
- Seal the bag carefully and place it in a safe area. Ensure all the solution is in contact with the stainless steel and leave for a minimum of 4 hours.
- Remove the grills from the bag, rinse in warm soapy water, and use a scourer to remove the burnt grease. The stains should come off easily, leaving the grills looking like new!
4. Clean the Inside
Scrape off any debris from the interior walls and bottom of the grill. If you want to go all out use a vacuum to remove loose ash and debris, making sure to get into all the corners and crevices.
5. Clean the Outside
Use a sponge or cloth soaked in soapy water to wipe down the exterior of the grill. For the stainless steel elements (including the inside of the lid), you can use a specialised stainless steel cleaner for a polished finish. Make sure to clean all surfaces, including handles and knobs.
6. Reassemble
Once all parts are dry and clean, reassemble your grill. Make sure that all your components are securely in place.
7. Oil the Grates
Use rapeseed oil and a paper towel to rub down the grates. This prevents rust and maintains a clean, non-stick cooking surface.
8. Cover or Store
If you have a grill cover, use it to protect your grill from the elements until its next use. If you're planning to put your grill away for the winter move it into storage.


Share:
How to Clean Your Grill After Each Use
How to Light Your Grill: Preparing the Fire